Create the chatbot
Open the dashboard
Navigate to openbat.dev/platform. You’ll see all chatbots in your current organization displayed as cards.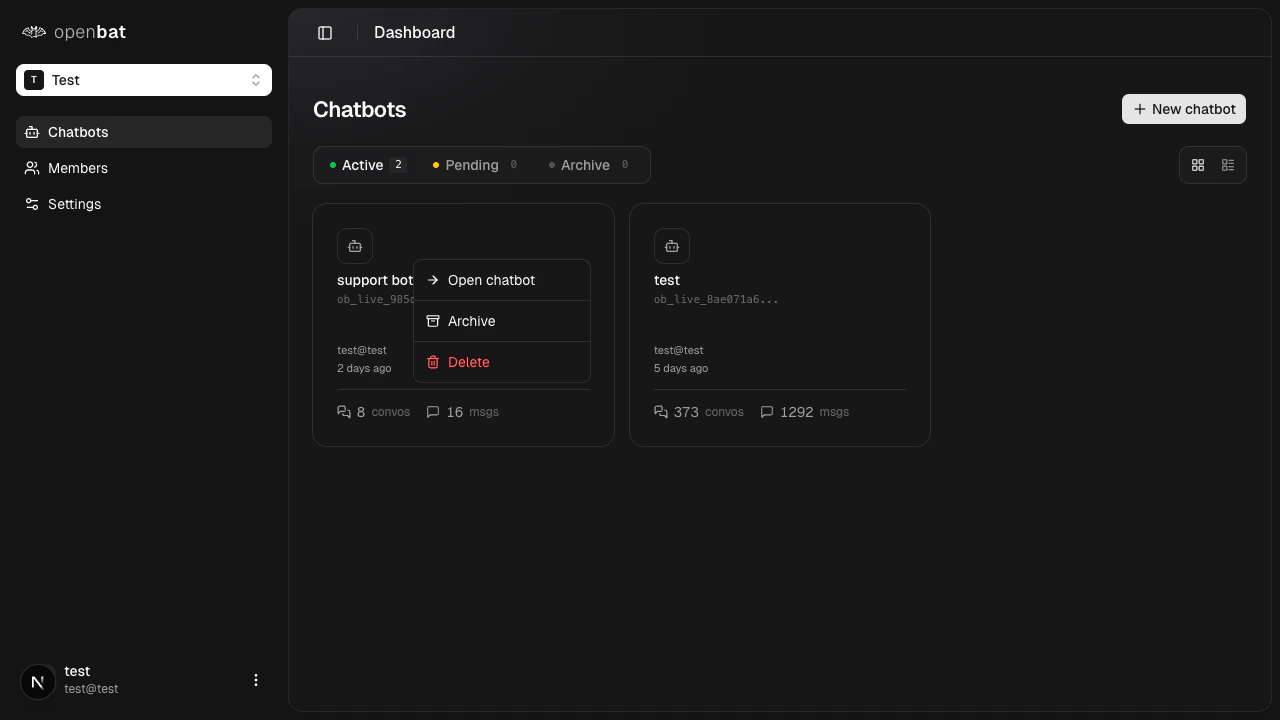
Click New chatbot
Click the + New chatbot button in the top right. A modal opens with a name field.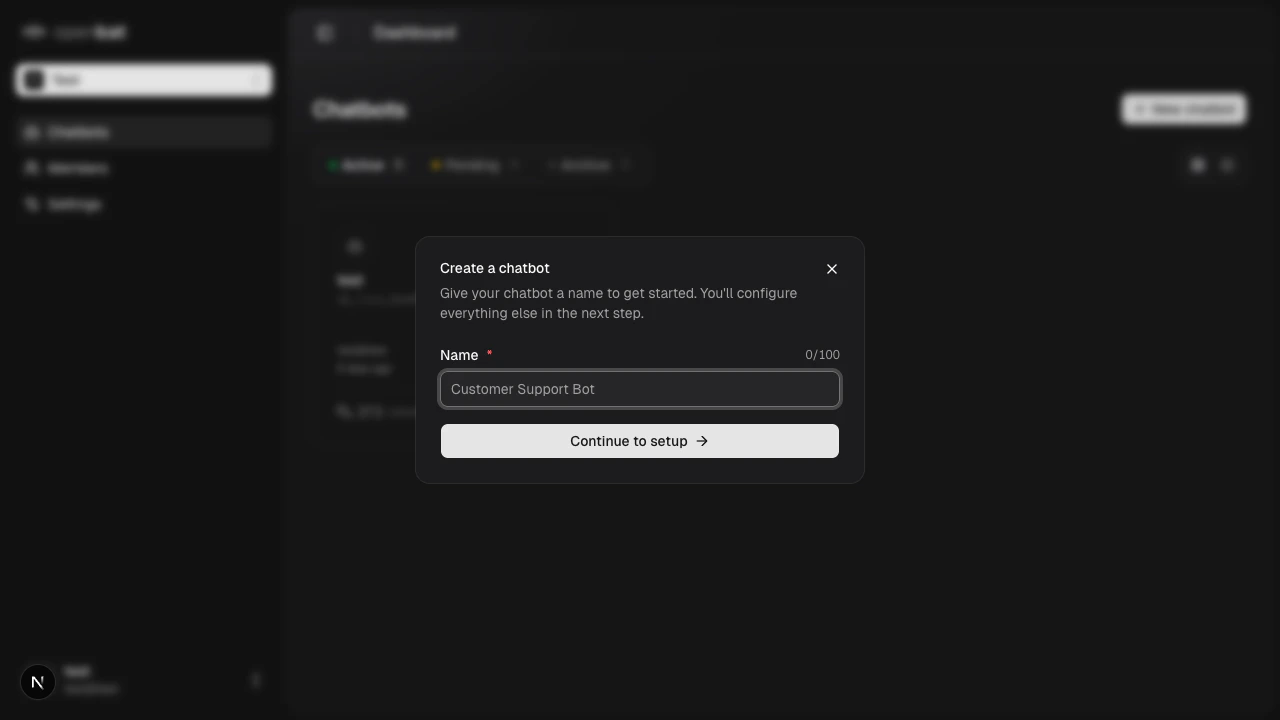
Complete the onboarding wizard
After clicking Continue to setup, a 6-step onboarding wizard guides you through initial configuration:
- Basics — confirm your chatbot name
- Product — enter your product name and description
- Brand — configure your brand context
- Pricing — set up your pricing tiers for revenue signal detection
- Context — provide additional context for the AI analysis
- Connect — get your API key and SDK integration instructions
Get your API key
After creation, navigate to Settings > API Keys. Your API key is shown masked — click the copy button to copy it.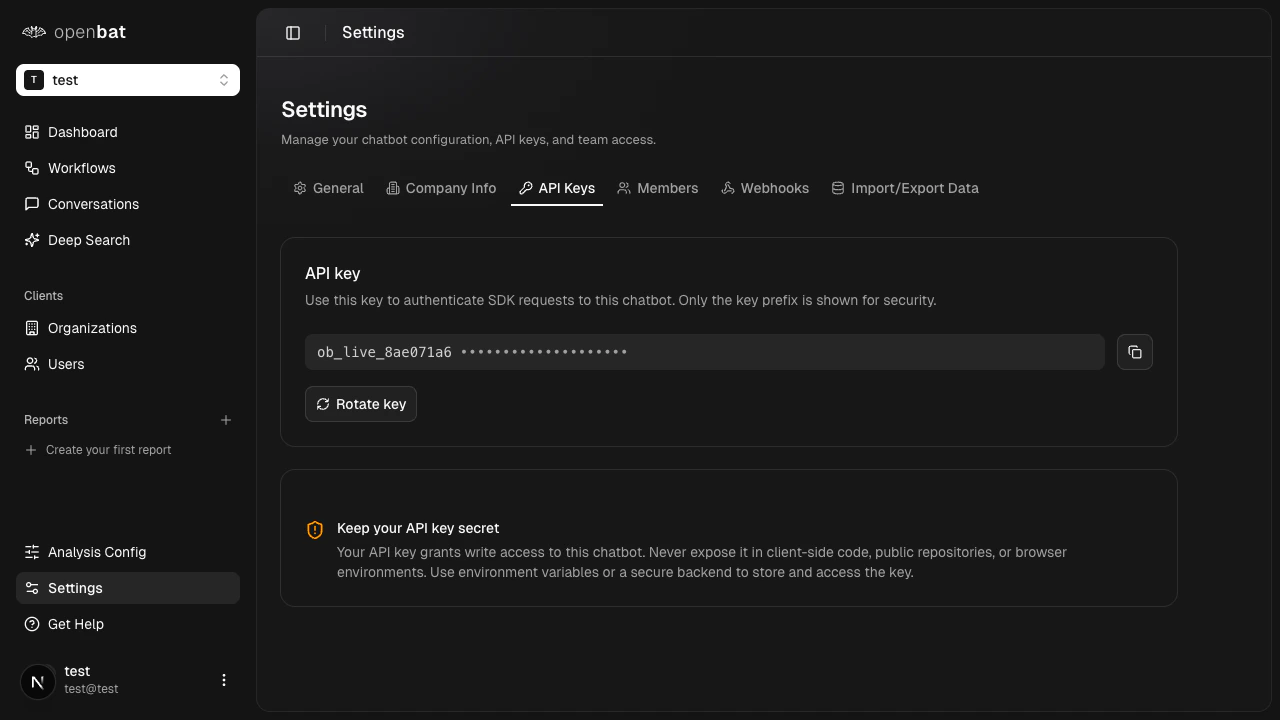
Configure webhooks (optional)
If you want workflow alerts sent to Slack, Discord, or a custom endpoint, set up webhooks now under Settings > Webhooks.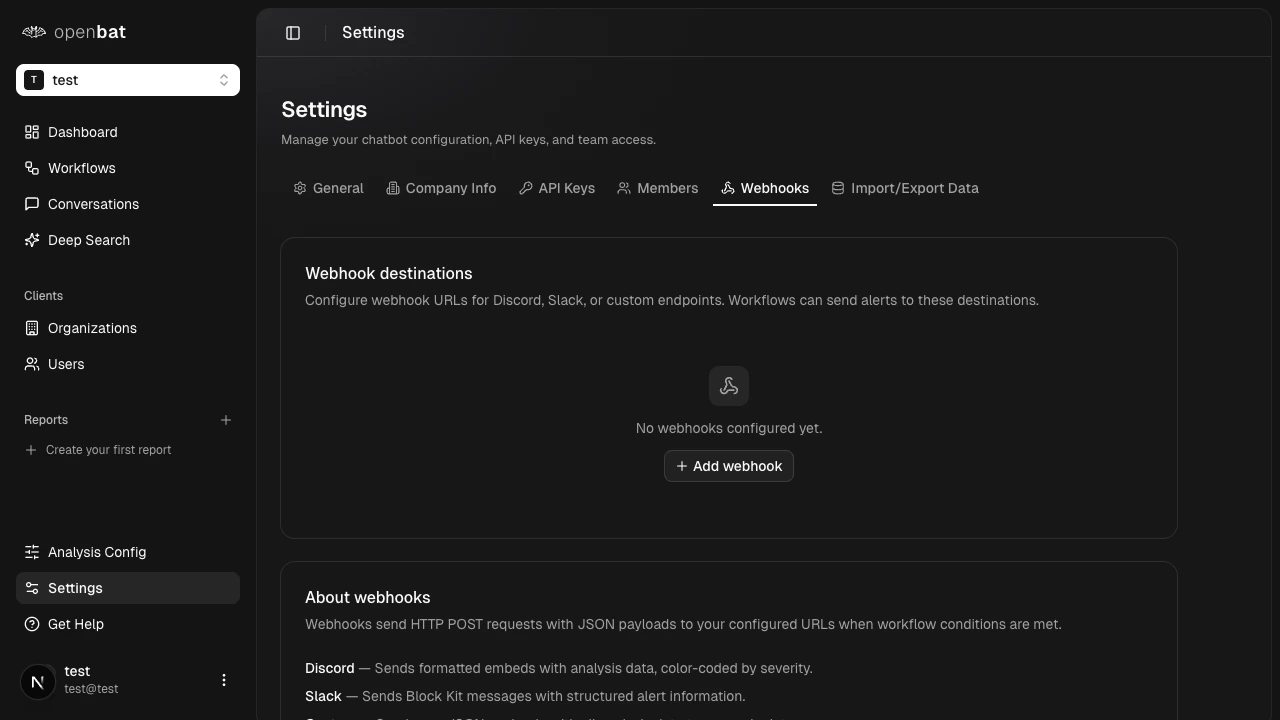
Install the SDK
Connect your AI chatbot to OpenBat using one of the four supported integration methods. See Install the SDK for detailed instructions.
Chatbot statuses
Chatbots have three statuses, visible as tabs on the dashboard:
- Active — receiving and analyzing conversations
- Pending — created but not yet receiving data
- Archive — no longer active, data preserved
Next steps
Install the SDK
Connect your chatbot and start sending conversations.
API keys
Manage, copy, and rotate your API keys.
Analytics dashboard
Explore your chatbot’s performance data.